I’m sure this is a familiar case: I’ve got a software that has site-specific information (like an RMM agent that’s not integrated with ezdeploy… yet), and a deployment mechanism that doesn’t custom variable storage (like ezdeploy… yet). That’s ok, I’ll just keep a copy of the script for each client. But wait, the vendor just changed the install syntax, or there’s a new URL for download, and now I need to go and update every single instance of the script out there…ouch.
While trying to tackle a similar problem for a different use-case, I realized the answer lies in an age-old practice – the INI file. Not every installer supports INI files, but with a few tweaks, I could make my installer script ingest a file and use that to supply the site-specific information as variables. This practice means I will have at least one more script than I would’ve if I kept all the logic together, but it also means that if I need to change anything about the consistent install logic, I only need to change it once. To demonstrate this, we’re going to use the Datto RMM script. Keep in mind that the install logic can/will change over time or with other products, but we’re looking to highlight the methodology.
First, let’s look at a canned install script. Datto’s nice enough to provide an example script that includes downloading the agent installer, so we don’t even need to provide that logic. Datto RMM PowerShell script (compatible with InTune): https://rmm.datto.com/help/en/Content/4WEBPORTAL/Devices/ServersLaptopsDesktops/Windows/MicrosoftEndpointManagerDeploy.htm
That script requires we set the $Platform and $SiteID variables. The contents of $Platform will be static across all my clients, so I can set that in the generic installer script, but the SiteID will change per client. Great, let’s write a script to do something to store that SiteID. If it’s just a single value, we could use a registry key, but if there’s the potential for more field of customization, it might be better to use a file. This file could be raw text, it could be in an INI format, or another convention like XML or JSON. We’ve been using a lot of PowerShell lately, and there’s a native module for working with JSON, so our team leans toward that path. First, we’ll create a PowerShell script to create our file.
$StageFile = $Env:Temp + “\DattoRMMStagingFile.json”
$DattoRMMSiteID = “a1b2c3d4e5”
$OtherUniqueSiteInformation = “YourSiteInfoHere”
@{DattoRMMSiteID=$DattoRMMSiteID;OtherUniqueSiteInformation=$OtherUniqueSiteInformation} | ConvertTo-Json -Compress | Out-File -FilePath $StageFile -Force
Next, we’ll go over to the PowerShell script that Datto provided and replace this line:
$SiteID=””

With some logic to find our file and extract the Site variable from that file. We also provide a generic SiteID in case something went wrong with loading our file – this allows us to ensure that the agent will go to a known place in the event of failure, and we can move the agent manually. If the software you’re using doesn’t support this kind of practice, we can always swap that out for a throw and fail the script, or replace it with other logic. Also, don’t forget to add logic to remove the Staging file in the end.
$StageFile = $Env:Temp + “\DattoRMMStagingFile.json”
if (Test-Path $StageFile -PathType Leaf) {
$InstallVariables = Get-Content $StageFile | ConvertFrom-Json
$SiteID = $InstallVariables.DattoRMMSiteID }
else {$SiteID = “GenericStagingSiteIDHere” }
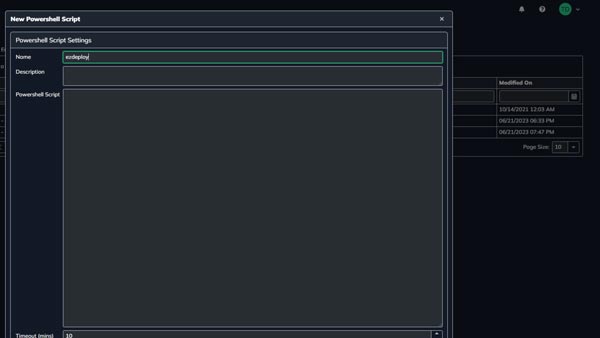
With all of that done, we just need to set up our Configuration Profile to call the Staging script first, then the installation script second.

And that’s it! Now if we ever need to update the URL for download, modify the global syntax, or do anything else other than add more site-specific information, we only need to edit the Installer script. If there’s suddenly a second layer of site-specific information, you’ll have to edit all the scripts, but hey – you would’ve had to do that either way.

